Seed Starting for Beginners
A low, medium and high budget seed starting guide for beginners
Embarking on the journey of gardening from scratch can be both exciting and daunting, especially for beginners. Seed starting is a fundamental step in this process, offering a hands-on approach to nurturing plants from their earliest stages. Whether you have dreams of a lush vegetable garden or a vibrant flower bed, mastering the art of seed starting lays the foundation for a bountiful harvest. One of the biggest challenges to gardening for a newcomer is, STARTING! There is so much information available it can be overwhelming. I’ve included three rough options for three different budgets for seed starting for beginners below feel free to browse them and use them as a guide to help you get started.
$0.01-$5.00 budget!
Seed starting for beginners can seem intimidating when scrolling online and noticing all the equipment many gardeners have. Don’t worry, you can seed start with a very small budget!!
Step 1: Gathering your materials
- Container: You can use a container that you have around your house. Whether it is a jug, a cleaned out glass container or even a red drinking cup you can use this as a place to plant your new seed.
- Seed: You might already have seeds in your home to use! You can use seeds from tomatoes, peppers or even strawberries! A quick way to see for seed viability is to test them in water. You can take your seeds and put them in a small cup of water. Wait 15 minutes to see if your seeds sink or float. If your seeds sink they are viable, if they float you can throw them away.
- Soil: You can find dirt cheap soil at places like Walmart, Lowe’s or Home Depot. There are small bags that have sufficient soil for seed starting. Be warned that what you pay is what you get! Soil quality is important to consider but if you are simply trying to get started with a close to 1 cent budget a cheap bag will do the job. Consider going on Facebook group to find locals that may have cheap compost rich soil!
Step 2: Getting started
- Moist your soil just enough that it isn’t dripping all over the place but be sure not to make it too wet!
- If you haven’t already poke holes in the cup you’re using to hold your seeds or cut/drill holes in the container. Good drainage is important for your seedlings.
- Put the soil in your container and poke a hole in the center with your finger.
- Grab 1 seed and put it in the hole you just made.
- You can cover the hole with some soil or leave it as is.
- Label your container using some tape, a marker or a label
- Ensure the container is in a warm spot to help the seed germinate
- Wait and see!!! Keep a close eye!
Seed starting for beginners – Low budget less than $30
I really like Ferry Morse, when it comes to seed starting for beginners Ferry Morse is a great resource! They offer quality products at a good price and have everything a beginner might need.
Step 1: Gathering your materials
- You can use some of the items I listed in the less than $5.00 budget list
- Seed starting kit no light $9.99
- Plastic plant containers 4 inch for when your seedlings outgrow their space
Step 2: Using seed starting kits
- Follow the instructions on the seed starting kit. Many of them already have soil in them and some even have grow lights!
- There are many options for seed starting kits, you can use your own containers as well as use seed starting kits to double the amount of crops you plant!
Seed starting for beginners – Medium budget less than $60.00
Seed starting for beginners involves mixing and matching different equipment or buying complete sets!
Step 1: Gathering your materials
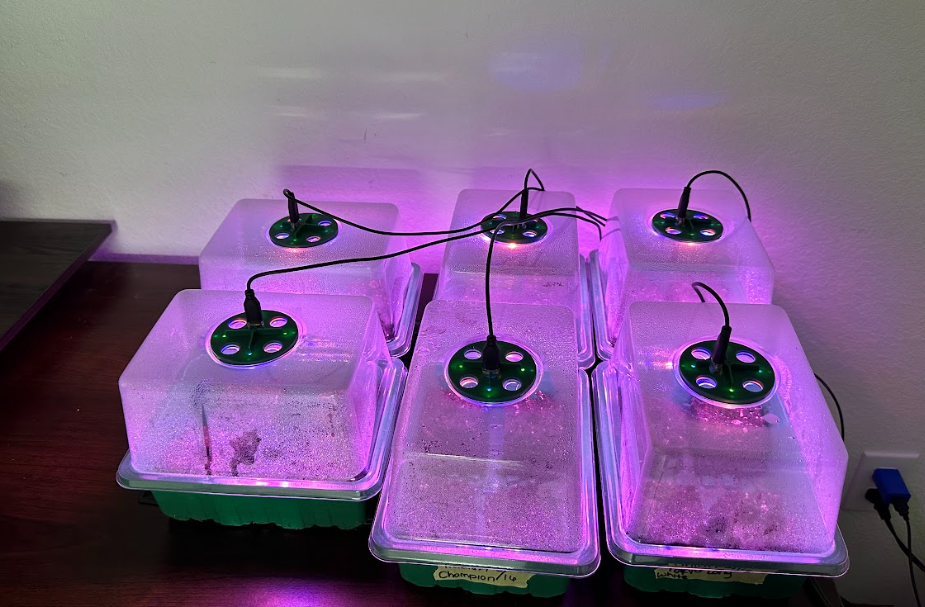
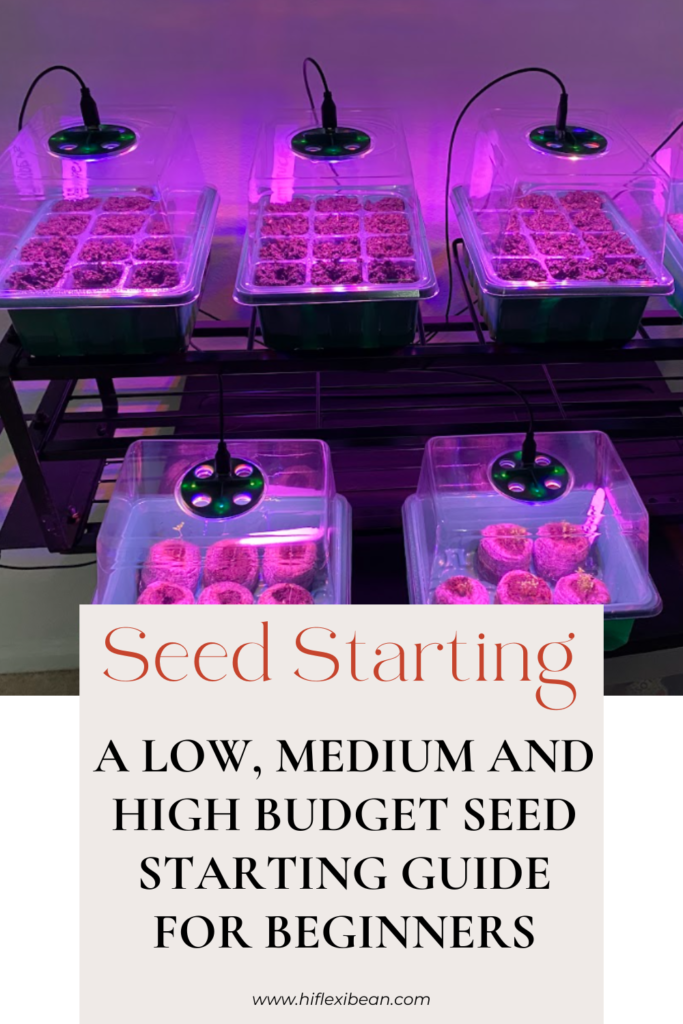
- Seed Starter Tray with Grow light (4 pack $19.99) I love these starter trays! The plastic seed cell tray is great for beginners and with time you might find you don’t need them anymore but want to keep the green container, lid and lights. I continue to use these even though I use soil blocks instead of the cell tray. These small seed starter trays are perfect if you don’t want to buy everything separately!

- Seedling Heat Mat $23.99 Heat mats are not necessary but they help your seeds germinate! I typically use the heat mats only when I’m planting new seeds and once I see them sprout I remove them. I only leave the heat mats on when I’m in the room or same space. If I plan to leave my home I turn my heat mats off.
- Plastic plant container 4 inch ($11.99) Once seedlings outgrow their space you can transfer them to bigger containers until they’re ready to go outside or for large containers.
Step 2: Transfer
- You can transfer your seedlings from your seed starter trays directly outside or in bigger pots. You can also transfer your seedlings from one pot (4 inches) to a bigger container (6 inches) and so forth.
Photo: My seed starting trays with a heat map underneath! The heat mat keeps them nice and toasty to help them germinate!

Seed starting for beginners – High budget less than $150.00
Step 1: Gathering your materials
- Ferry Morse offers complete seed starting kits. They are great for beginners who have a small space or aren’t sure what they want to do quite yet with their space but don’t want to invest in expensive lights.
- Complete seed starting kit $99.99
You can mix and choose between buying seeds locally, at a large store, online or through the food you eat. The beauty of seed starting and learning to start a garden is that if a plant dies you simply can plant another! Remember, gardening is as much an art as it is a science, and experimentation is key to learning and improving your skills. Don’t be discouraged by setbacks or failures—each season presents new opportunities for growth and discovery. With patience, practice, and a little nurturing, you’ll soon be reaping the rewards of your efforts as your garden flourishes with life and beauty.
Helpful tools to use:
Like what you’re reading? Are you ready to take it to the next level?! You can do so with our free, downloadable guide! Click here to get your copy now and start your garden today.
Seed starting for beginners, was this helpful? Please share!

