Creating soil blocks for beginners
You may have heard that soil blocks aren’t for beginners, but if you’re like me you want to try it anyway! Let’s look at the basics of creating soil blocks and what you should know to make seed starting a success!
My first year I used the standard $20 seedling tray with an attached grow light from Amazon. The seedling trays worked but it was difficult to remove them and transplant them to bigger plastic pots. I destroyed many of my poor seedlings while transferring and unfortunately the seedling trays were made of cheap plastic material which made it difficult to reuse. My second year growing I decided to try something I was told is not meant for beginners, soil blocks!
Why soil blocks? Soil blocks are an eco-friendly alternative to traditional seed-starting methods. They eliminate the need for plastic pots, reduce transplant shock, and encourage healthier root development. Plus, making soil blocks is easy and can be made at home. Creating soil blocks didn’t seem difficult so I wasn’t sure why everyone online said it was not meant for beginners. The biggest thing I noticed when creating soil blocks was that it just required more space and an investment in a good soil block maker.
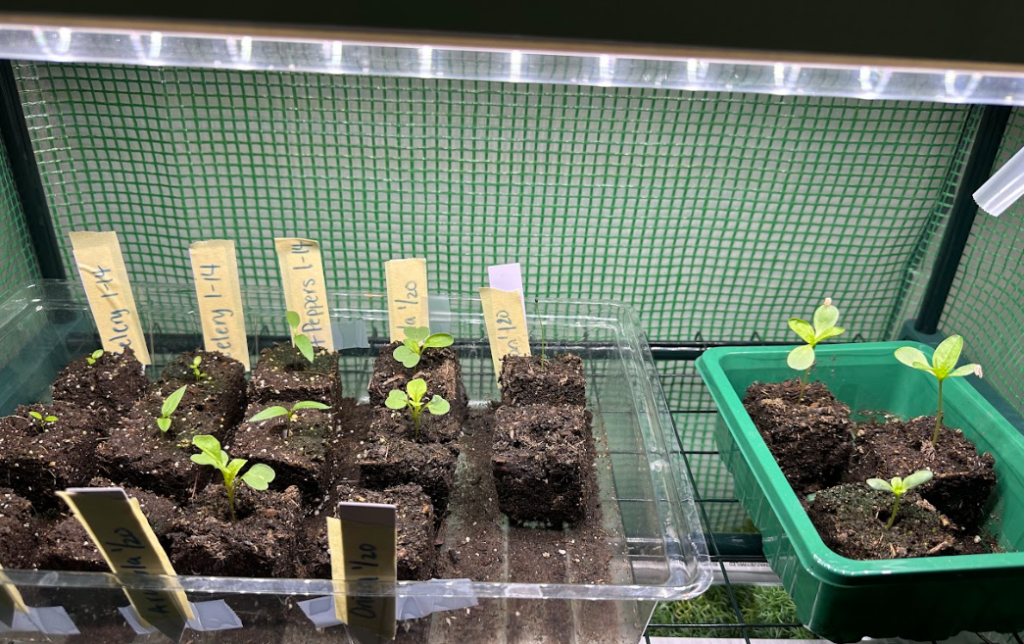
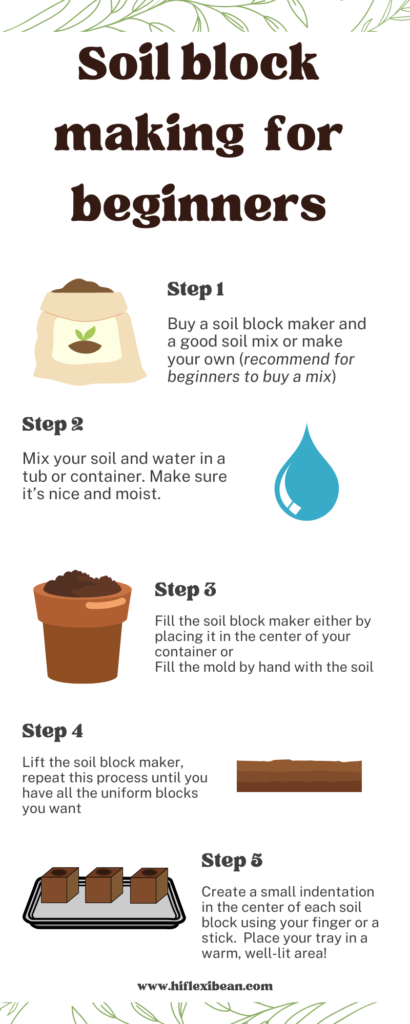
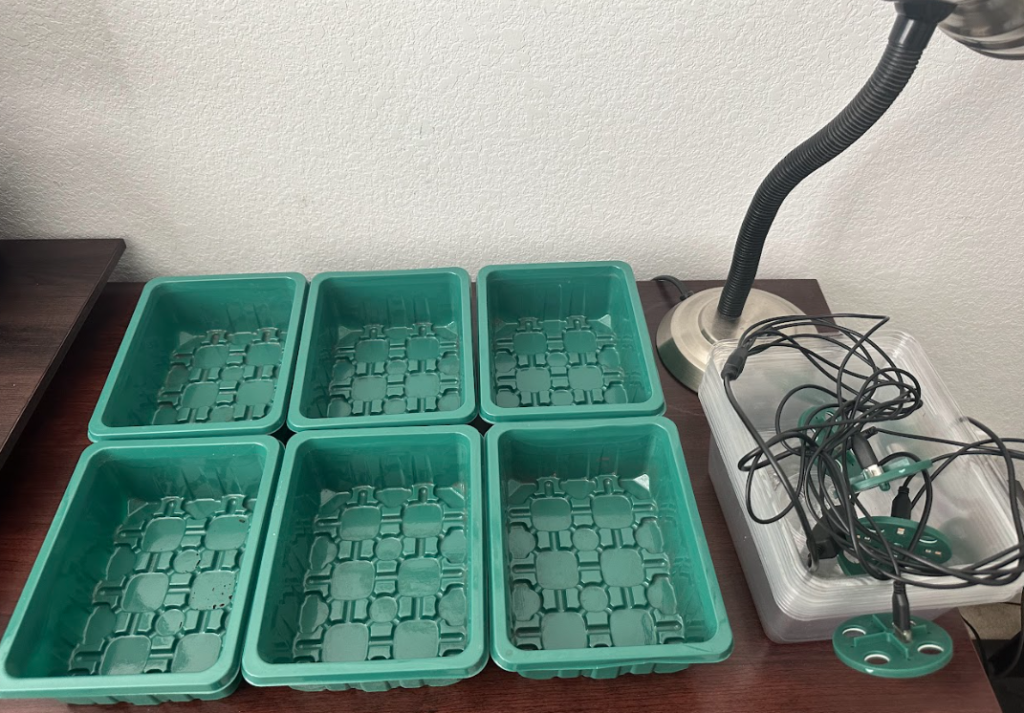
So you want to try and make your own soil blocks – Great, you’ll need a soil block maker, a sturdy seed-starting tray and soil! If you already have sturdy materials around your house you can use these as your seed-starting tray to hold the soil blocks. I reused the green seedling trays I used in my first year of growing to hold my soil blocks. You can also use lids if they are deep enough or other items that won’t fall apart once they are watered.
The soil block maker I used is linked here. You can find other soil block makers that create smaller or larger blocks. There are many soil block molds you can choose from, you can find them on Amazon or even Lowe’s!
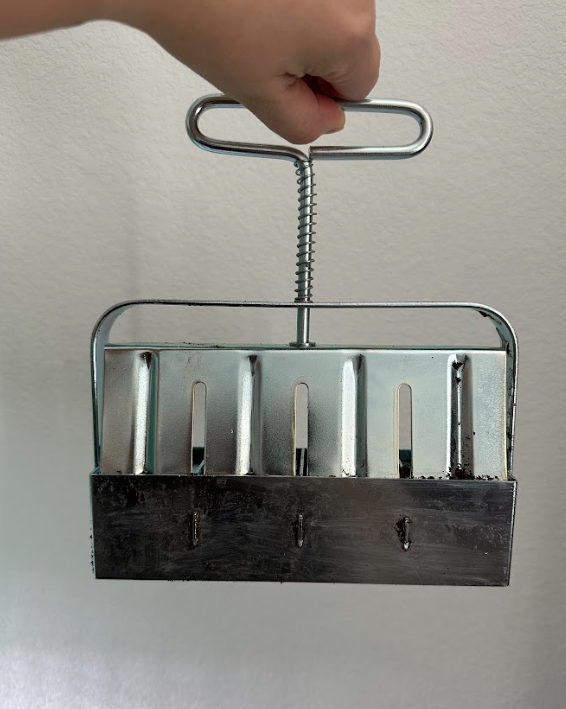
Create your own soil blocks at home!
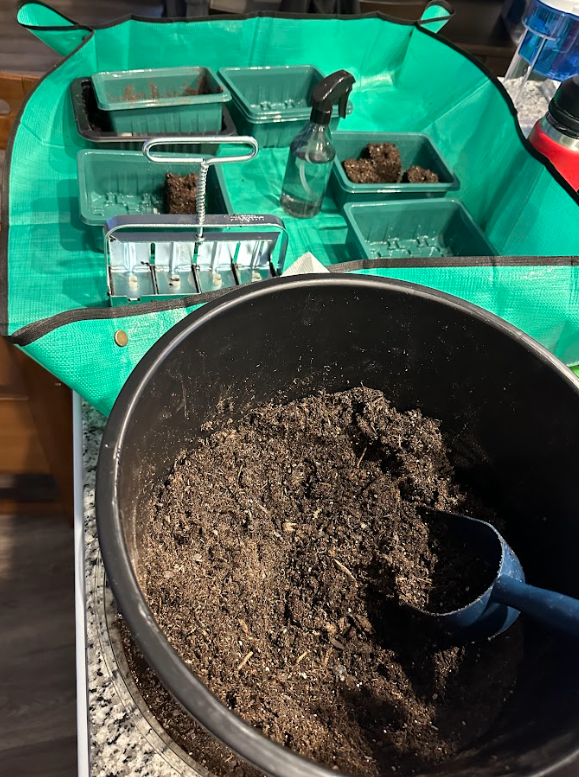
Preparing your soil mix – A lot of experienced gardeners will tell you that you have to be mindful of what you mix together, they’re right! However, for those of us who are just starting out and want to simply try it out buying a soil mix sold at the store is ok too!
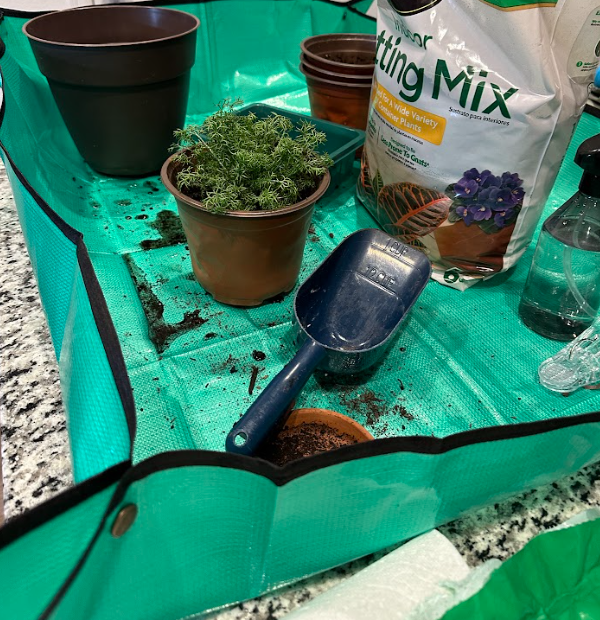
To start I used a simple potting mix from Lowe’s, the picture above shows the type I’ve used in the past. I’m not loyal to any one brand yet. I use organic soil mix when it is available during the Summer however during the Winter the stores do not have that much in stock. You can use a potting mix, indoor mix, container mix but I’ve heard that it’s not best to use a ‘seedling mix’.
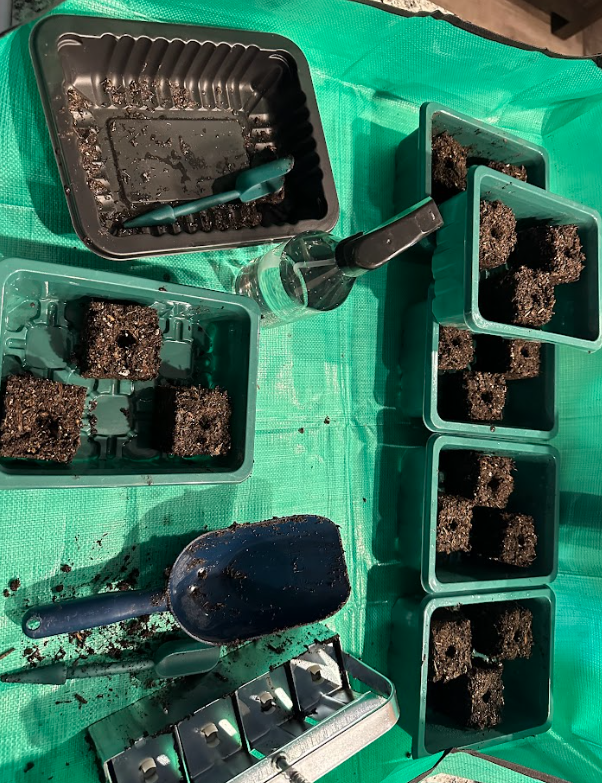
Once your soil is nice and wet grab the soil block maker and either place it at the center of the container that is holding your soil or use your hand to fill it up. Carefully lift the soil block maker or push the lever back, it should leave behind perfectly formed soil blocks. Repeat this process until you have the amount of soil blocks you want.
Plant your seed in your soil block
Create a small indentation in the center of each soil block using your finger or a stick. Water your soil blocks gently, place the tray in a warm, well-lit area, and monitor the moisture levels regularly. Once your seedlings have sprouted and are ready for transplanting, simply lift the soil block and place it directly into the ground or a larger pot. Soil blocks help when transferring your seedlings!
FYI, sometimes soil blocks fall apart
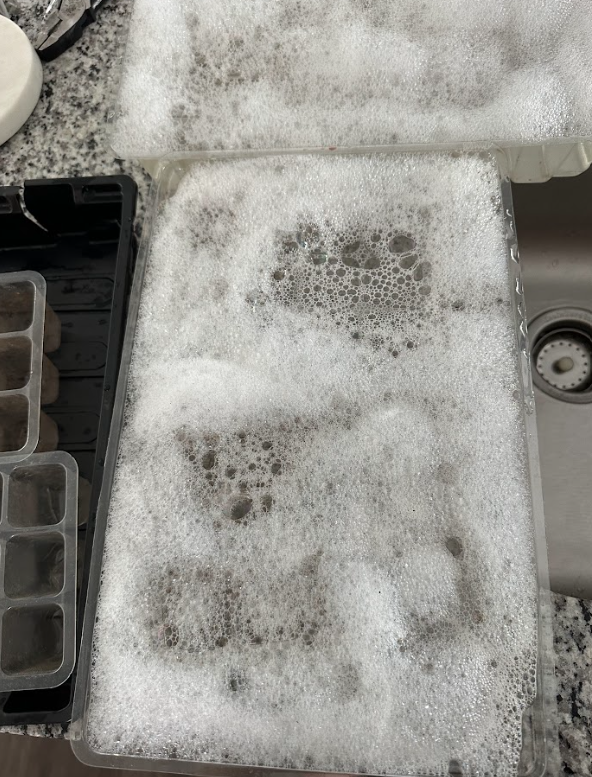
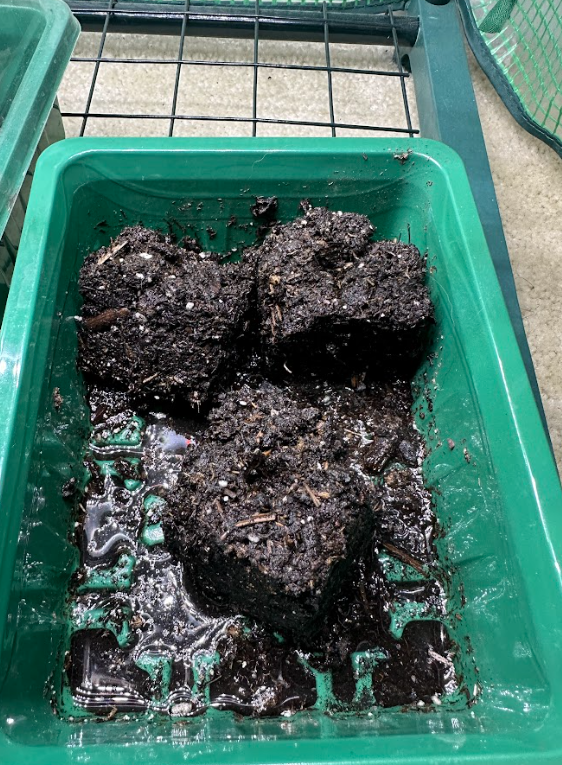
It’s ok if some soil blocks don’t come out sturdy, or if you accidentally bump the tray they’re sitting in and they fall apart. I had plenty of soil blocks fall apart after I moved them, example photo down below. If your soil block does fall apart you can try and salvage in by moving them into a small plastic seedling container or try again if you haven’t already planted a seed inside.
Try it out!!
Soil block making is a sustainable method that not only benefits your plants but also contributes to a greener, plastic-free gardening experience. Experiment with different seed varieties, observe your plants’ growth, and enjoy the rowing process!
Like what you’re reading? Are you ready to take it to the next level?! You can do so with our free, downloadable guide! Click here to get your copy now and start your garden today.
Was this helpful? Please share so other new gardeners can learn too!
